Fruit craft idea
Strawberry squishy: a cute fruit idea you can make from paper
Strawberries are a friendly squishy shape because the color does most of the work: pink or red body, green top, tiny seeds, and a face if you want one. Here is how to turn that visual recipe into an original paper craft without pretending it is a store-bought squishy toy.
- Color recipe
- Berry body, green top, seed details
- Craft time
- About 20–25 minutes
- Closest current template
- Strawberry milk carton PDF
Why strawberry works as a squishy idea
A strawberry is recognizable from a few strong details. You do not need a complicated texture to make the idea read: a rounded berry body, a leafy cap, pale seeds, and a simple expression are enough. That makes it a good design prompt for a paper squishy, a coloring page, a gift tag, or a small matching set.
If you are making a physical toy, the material and care details matter more than the fruit shape. If you are making paper, the shape and the edge seal matter more than trying to imitate a gel or foam texture. Decide which experience you want before you start so the project stays honest and manageable.
Three ways to approach a strawberry squishy
The first route is a finished physical toy or mochi-style fruit, where you check the material, age guidance, seller, and care instructions. The second is a real DIY mold or kit, where you follow the maker’s material and cure directions. The third is a paper craft, where you control the art, the filling, and the amount of work.
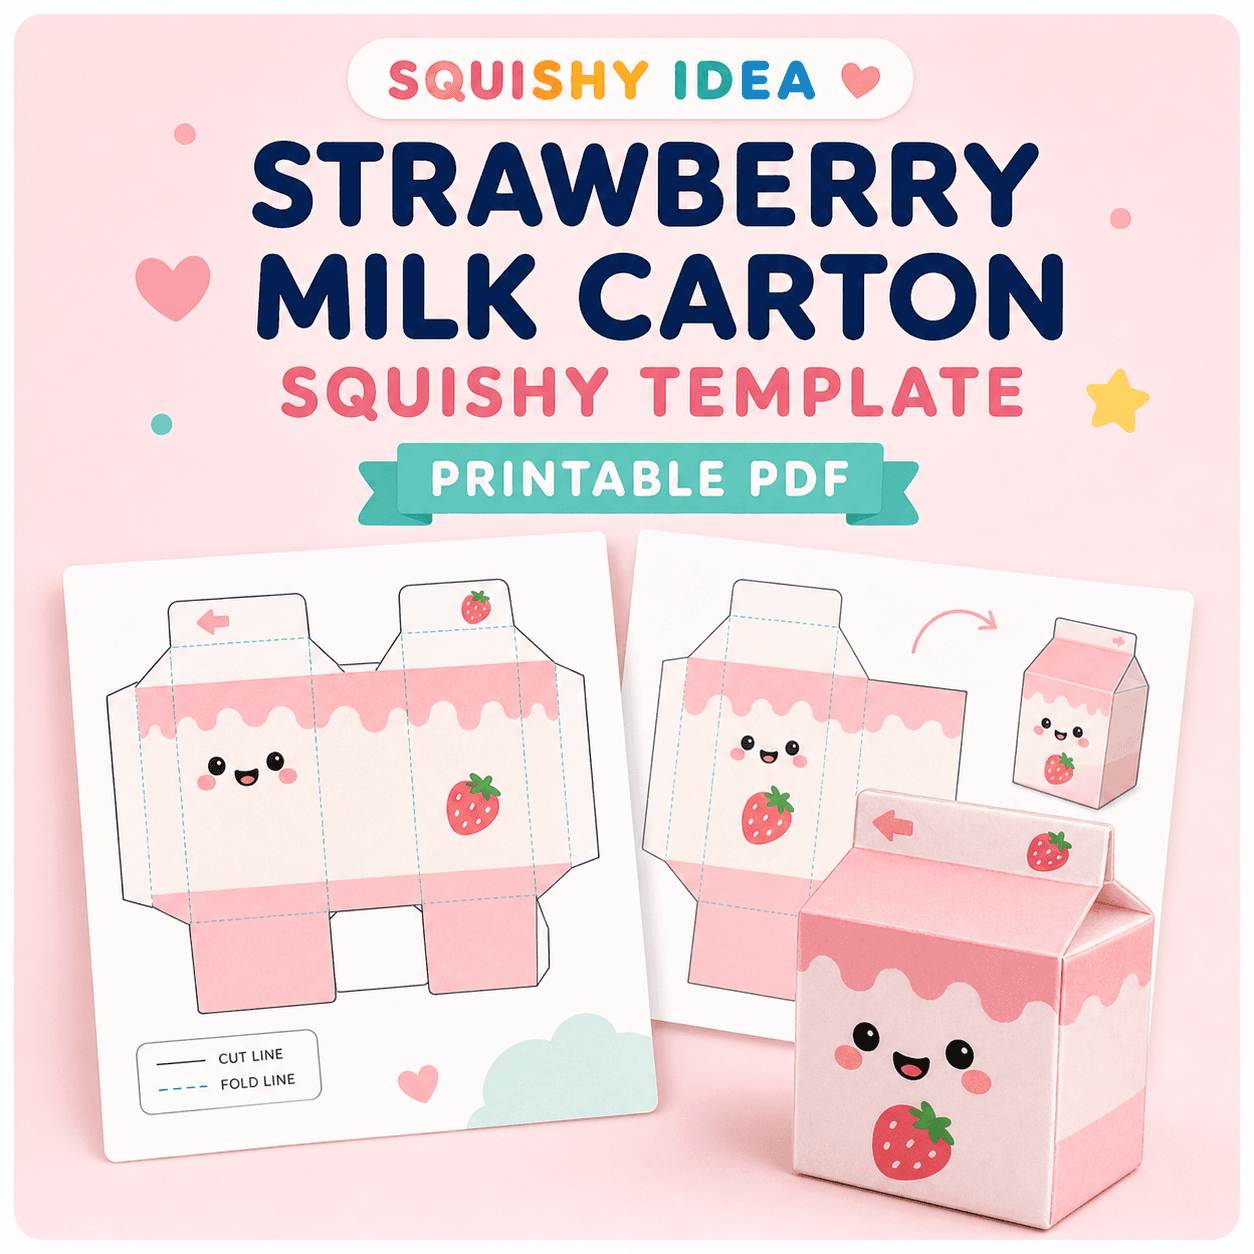
For a quick, low-cost project, paper is the most forgiving. You can make a flat berry, a puffy two-piece shape, or a small carton-inspired design. SQUISHY IDEA’s current strawberry-themed template is a milk-carton shape, so it is a good fit if you like the berry flavor and a taller 3D build rather than a literal strawberry silhouette.
- Physical toy: check material, age, seller, and damage before use.
- DIY kit: follow the exact mold, mixing, cure, and protection directions.
- Paper craft: choose the visual recipe and build it with common supplies.
- Current SQUISHY IDEA route: strawberry milk carton with a printable net.
Keep the berry details clean
Decorate while the paper is flat. Add the face, seeds, and leafy top before the edges are closed, then keep tape away from the details that need to stay crisp. If you want a soft-looking highlight, use a small white pencil mark or a pale paper shape instead of adding bulky pieces that can catch on the tape.
Fill slowly and keep the shape slightly flexible. Too much tissue can stretch the seams and make a strawberry look like a hard ball. A little unevenness is easy to fix by moving the filling with a blunt pencil or your fingertip before the final opening is sealed.
A practical way to start
- 1
Pick the silhouette
Choose a berry, a flat slice, or the current strawberry milk-carton template.
- 2
Build the palette
Use berry pink or red, leafy green, pale seeds, and one simple face or shine detail.
- 3
Decorate flat
Add seeds and expressions before taping so the edges stay clean.
- 4
Fill lightly
Use a small tissue bundle, close the last opening, and keep the paper flexible.
Common questions
How do you make a strawberry squishy from paper?
Choose a berry or strawberry-themed template, decorate it flat with a berry palette and seed details, cut the pieces, tape the edge, add a small amount of tissue, and seal the final opening.
Does SQUISHY IDEA have a strawberry squishy template?
The current closest match is the strawberry milk-carton squishy template. It uses a strawberry theme with a taller carton net rather than a literal berry silhouette.
Can I put real food inside a paper squishy?
No. Use only a light craft filling such as tissue or soft scrap paper, and keep the finished paper squishy dry and away from mouths and pets.