Dessert craft idea
Cake squishy: make a cute paper dessert that stays tidy
Cake is a forgiving squishy idea because the design can be a slice, a roll, a cupcake, or a tiny layered block. This guide shows how to make the dessert look soft and cheerful without overcomplicating the paper, tape, or filling.
- Easy silhouette
- Cupcake or simple cake slice
- Craft time
- About 20–30 minutes
- Finish goal
- Light filling and clean frosting details
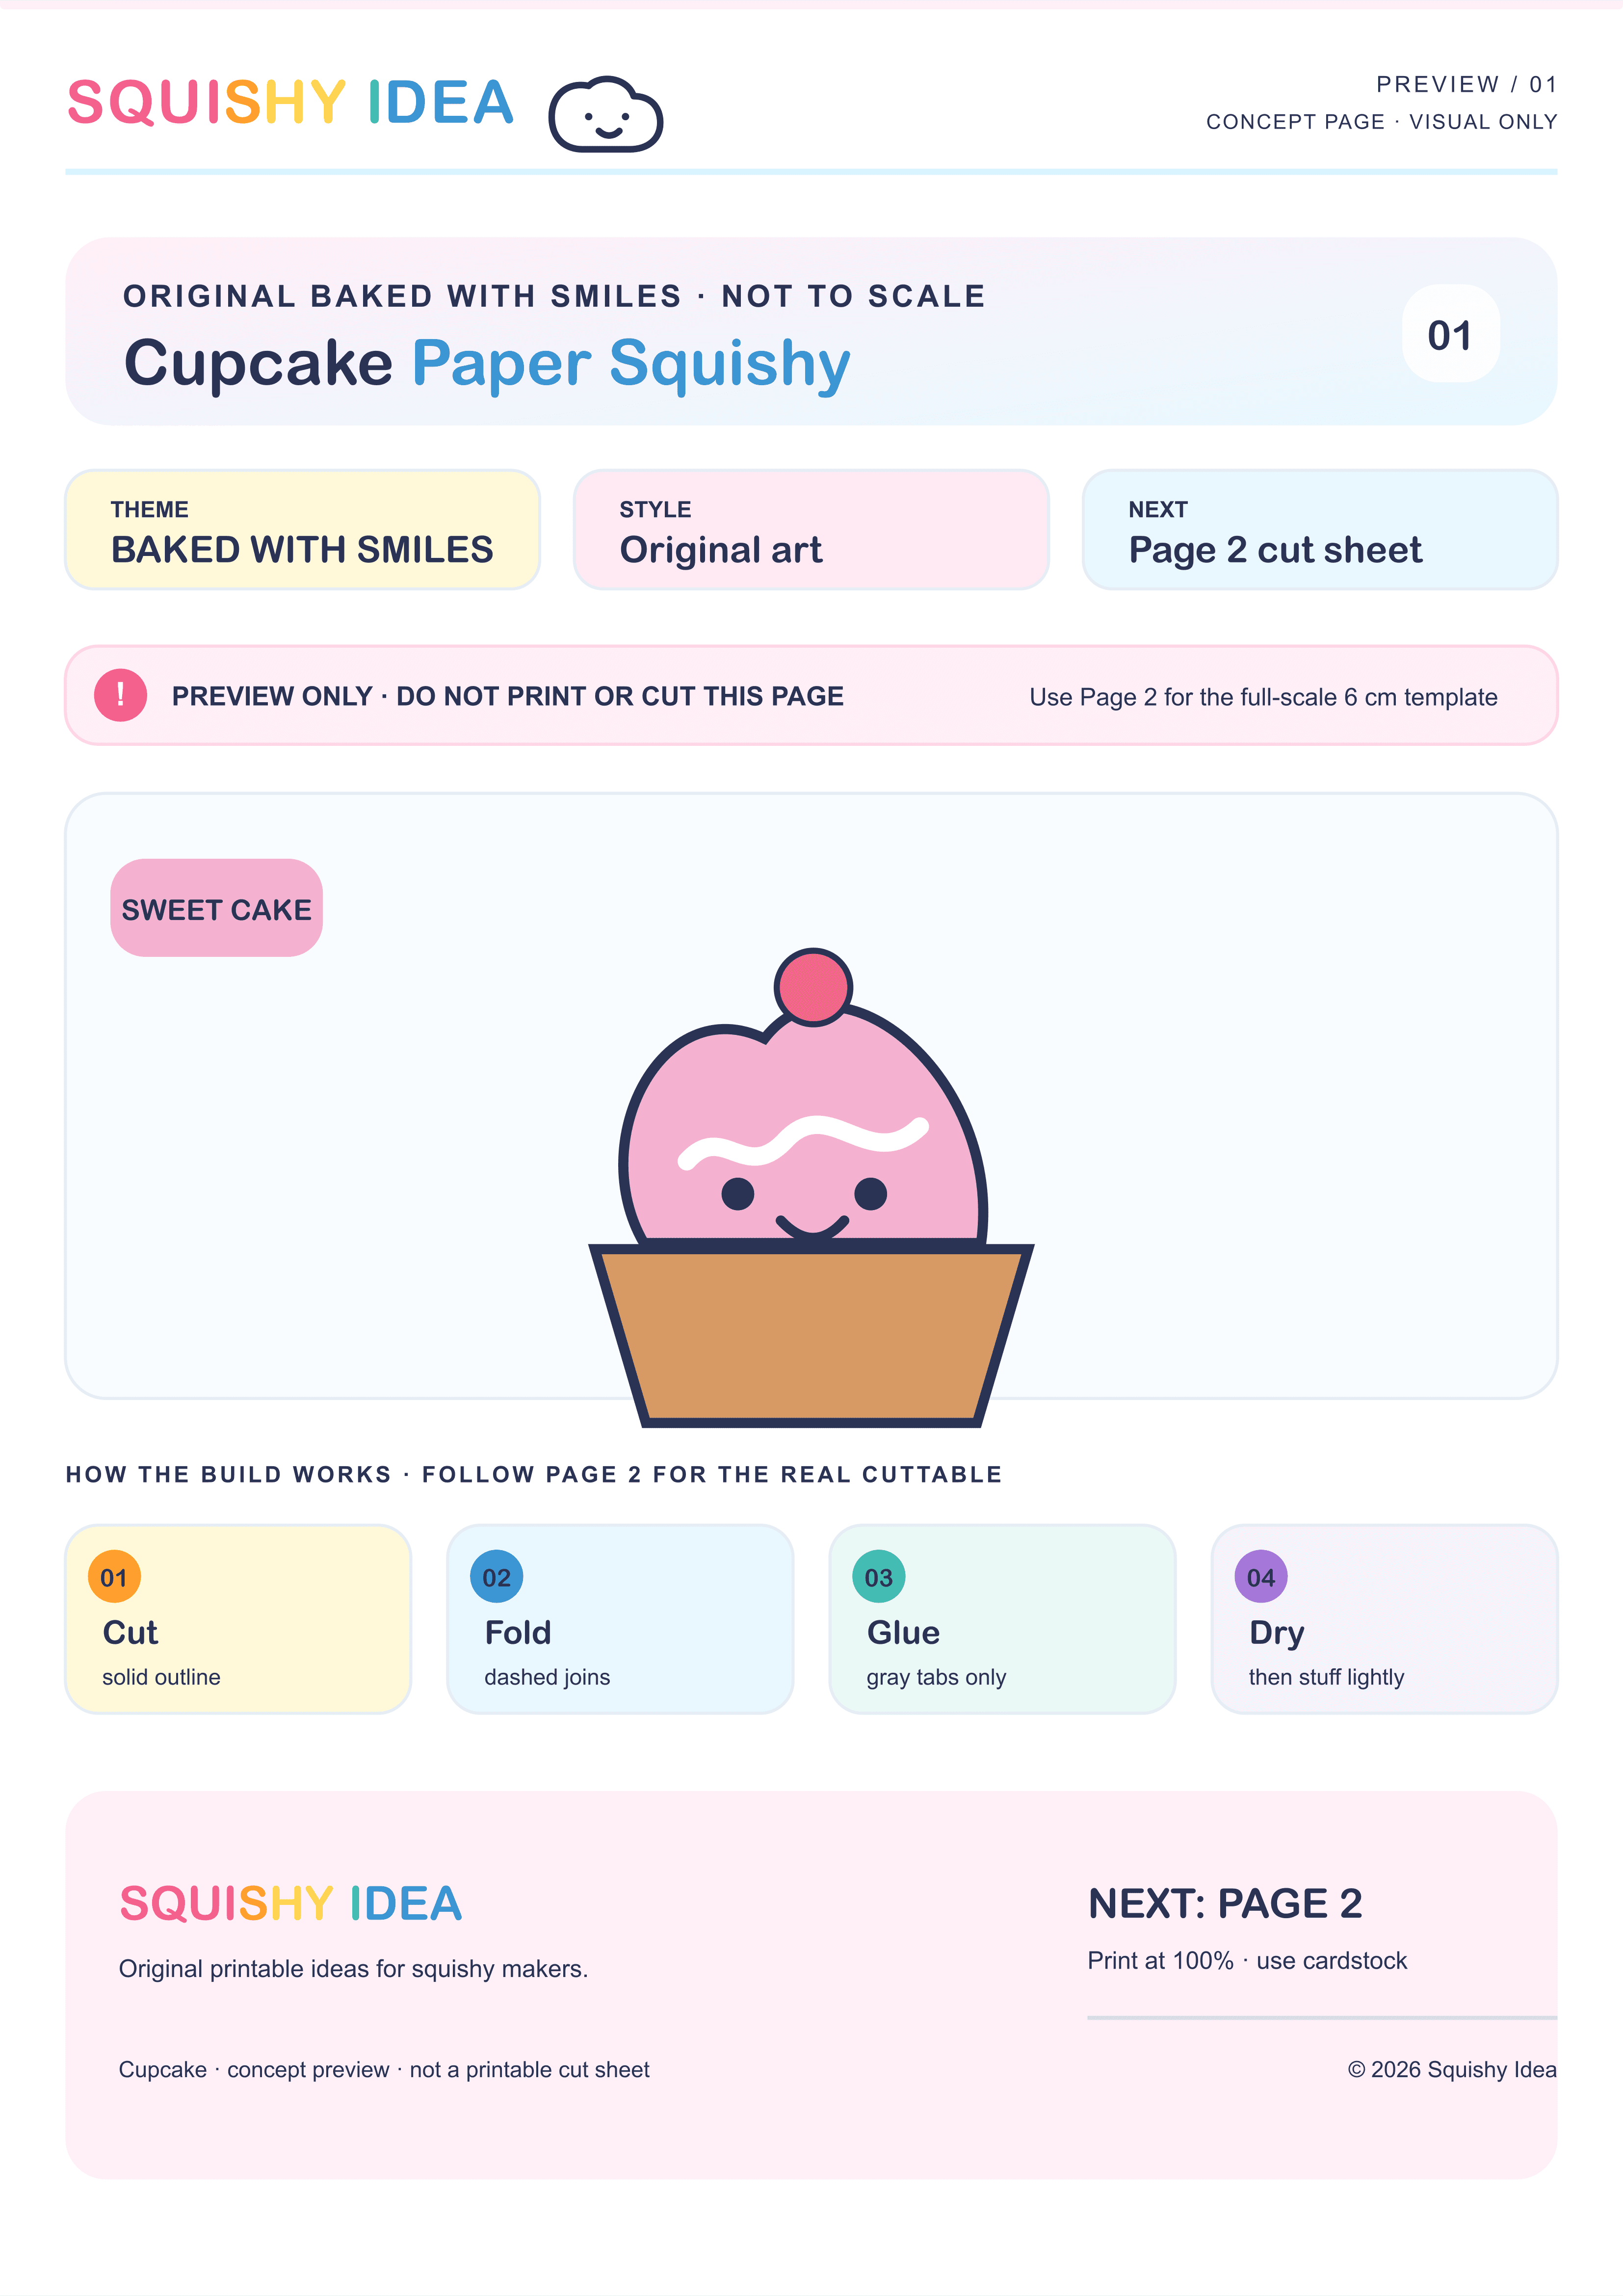
Pick a cake shape that matches your patience
A cupcake is a good first build because the wrapper and frosting create clear color blocks. A cake slice is more graphic and works well when you want a triangular silhouette. A roll cake needs a little more care around the curved side, but the swirl gives you a satisfying detail without many tiny parts.
Keep the first version simple. Choose two or three colors, one face, and one decoration such as a cherry, sprinkle line, or frosting edge. The paper will look more polished when the main silhouette is clean than when the design is crowded with pieces that can catch on the tape.
How to make the dessert look soft
Use pale color blocks and rounded corners to suggest frosting, then leave a little breathing room around the face. If you are drawing the details yourself, make the eyes and mouth large enough to read after the craft is assembled. A small highlight in the frosting can make the cake feel glossy without adding a separate layer.
For the filling, tissue gives the lightest puff and is easy to adjust. Soft scrap paper makes a firmer cake shape, while cotton can work for rounded frosting if it does not bunch in the corners. Add a little at a time and keep the paper flexible; overfilling is the fastest way to split a dessert-shaped craft.
- Use two or three main colors before adding tiny decorations.
- Decorate the flat paper before you close the edges.
- Use tissue for a light puff and soft scrap paper for a firmer block.
- Keep the finished paper squishy dry and away from mouths and pets.
A small cake collection is better than one overworked cake
Once the first cake works, change only one element at a time. Try strawberry frosting, chocolate layers, lemon yellow, or a sleepy face. Matching templates are easier to compare when the construction stays familiar. You can also make a mini dessert table with a cupcake, cookie, and butter block rather than trying to make one paper cake carry every idea.
That is where printable patterns earn their keep. You can test a palette, make a classroom set, or remake a favorite face without shipping or storing another physical toy. The value is not that paper feels like bakery foam; it is that the design is yours from the first pencil mark to the last piece of tape.
A practical way to start
- 1
Choose the cake
Start with a cupcake or simple slice before attempting a detailed roll or tiered shape.
- 2
Plan the palette
Pick frosting, cake, and one accent color so the face and silhouette stay readable.
- 3
Decorate flat
Add sprinkles, frosting lines, eyes, and cheeks before cutting or taping.
- 4
Fill and seal
Add tissue slowly, close the final edge, and smooth the tape without stretching the paper.
Common questions
How do you make a cake squishy from paper?
Choose a cake or cupcake pattern, decorate the flat pieces, cut the outline, tape most of the edge, add a small amount of tissue or soft scrap paper, and seal the last opening.
What filling works for a paper cake squishy?
Tissue is the easiest light filling. Soft scrap paper makes a firmer shape, and cotton can work for rounded areas. Add small amounts so the seams do not stretch.
Can I use real cake or food as the filling?
No. Paper squishies are decorative crafts. Use only clean craft filling, keep the project dry, and keep it away from mouths and pets.