Easy no-foam craft
How to Make a Paper Squishy Without Foam
You do not need craft foam or special stuffing to make a paper squishy feel puffy. Ordinary tissue, pulled-apart cotton, or soft paper scraps work when they are added loosely and sealed inside a well-taped paper shell. This guide shows the full method, including what to avoid and how to fix a squishy that feels hard or flat.
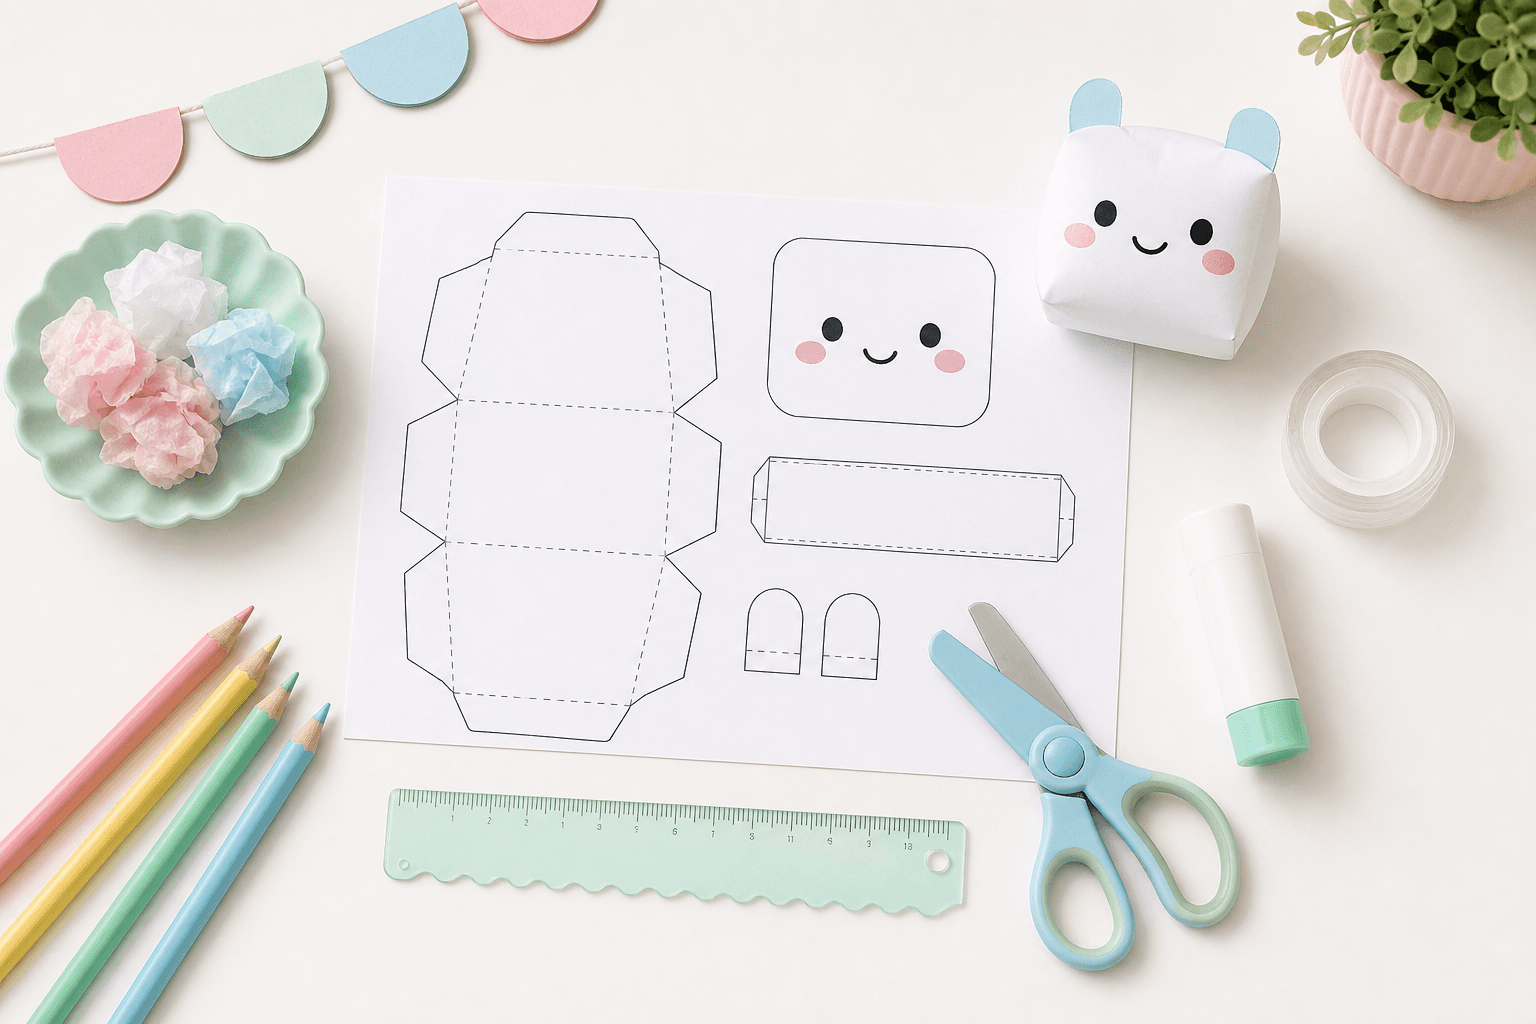
Why a paper squishy works without foam
The gentle squash comes from air moving between loose layers of filling. When you press the paper shell, tissue or cotton shifts and compresses; when you release it, the layers settle back into shape. Foam can do the same job, but it is not required for a lightweight paper craft.
The amount of filling matters more than the material. A small, airy handful usually works better than a densely packed center. Keep the shell rounded but relaxed, and the taped seam will last longer too.
Materials you need
This setup uses common craft supplies. Regular printer paper is flexible and forgiving for a first attempt; save heavier cardstock for box shapes once you are comfortable sealing the edges.
- A printable paper squishy template or your own simple drawing
- Regular printer paper or light matte paper
- Scissors
- Clear tape or matte tape
- A ruler or craft stick for neat folds
- Tissue, cotton, or soft scrap paper for the filling
- Markers, colored pencils, or stickers for optional details
Safe non-foam filling choices
Use clean, dry materials that stay light inside the craft. These choices are easy to adjust before the final seam is closed, which is useful when you are learning how full the shape should be.
The easiest all-purpose filling
Tissue paper
Tear it into loose pieces instead of one tight ball. Tissue keeps the craft light, reaches rounded corners, and is easy to remove if you add too much.
A softer, springier feel
Cotton balls
Pull each cotton ball apart before adding it. Small wisps spread more evenly than whole balls and are less likely to create hard lumps behind the paper.
Reusing clean template offcuts
Soft paper scraps
Crumple thin, clean scraps very lightly. They work well in boxy designs, but sharp cardstock pieces should be left out because they can press through a seam.
Small crafts and curved shapes
Plain facial tissue
Use clean, unscented, dry tissue. Separate the layers and add them a little at a time so the middle stays puffy without forcing the taped edge apart.
Skip heavy, wet, or messy fillings
Rice, dried beans, sand, water, slime, food, and damp paper add weight or moisture and can leak through a weak seam. Avoid loose glitter and very small beads around children. Expanding spray foam and strong adhesives are unnecessary for this project and should not be used as stuffing.
Step-by-step: make your paper squishy without foam
Print or draw a simple shape
Start with a template that has a clear front and back. If you draw your own, choose a cookie, dumpling, fruit, or other shape with broad curves. Tiny points and narrow handles are harder to fill evenly without foam.
Color before you assemble
Add the face, labels, highlights, and other details while the paper is flat. Let markers dry fully before taping so the ink does not smear under your fingers or transfer to the back piece.
Cut the front and back together
Hold or loosely tape the sheets together, then cut around the outside edge. Matching pieces make the seam easier to seal. Leave a small paper margin around important artwork rather than cutting directly through it.
Tape most of the edge
Join the front and back with short, overlapping pieces of tape. Work slowly around curves and leave an opening about two fingers wide. Press each tape strip flat before adding the next one.
Add a loose non-foam filling
Insert small pieces of tissue, pulled-apart cotton, or lightly crumpled soft paper. Move the filling toward the corners with a capped marker or craft stick. Stop while the surface still gives when pressed.
Seal the opening without stretching it
Hold the two paper edges together and close the gap with two or three short tape strips. If the edges pull apart, remove a little filling instead of using more tape over a strained seam.
Shape it with gentle presses
Press the center slowly and let the filling settle, then redistribute any lumps with your fingertips. A paper squishy is a light craft, so use a soft squeeze rather than folding or crushing it.
Troubleshooting a foam-free paper squishy
It feels hard instead of squishy
Open one small section and take out about a quarter of the filling. Loose air spaces are what let tissue and cotton compress; tightly packed filling cannot move.
The middle stays flat
Add two or three small pieces near the center, then spread them outward. One large wad often sits at an edge and leaves the middle looking empty.
The taped seam keeps opening
Remove some filling, wipe dust from the paper edge, and reseal it with short overlapping strips. Tape sticks better to a relaxed, clean seam than to stretched paper.
The surface has visible lumps
Pull cotton apart more finely or replace stiff scraps with tissue. Place the softest filling directly behind the front artwork and keep crumpled scraps closer to the back.
Curves look wrinkled
Use several short tape pieces around the curve and overlap them slightly. One long strip tends to bunch up when it has to turn around a rounded shape.
A corner will not fill
Push one tiny piece of tissue toward the corner with a blunt craft stick. Never use a sharp tool inside the craft because it can pierce the paper or tape.
Safety and cleanup notes
A homemade paper squishy is a decorative craft, not a baby toy, pet toy, or chew toy. Supervise children with scissors and tape dispensers, and collect small offcuts as soon as the activity is finished.
Keep the finished craft dry and away from food. If the paper gets wet, stained, or torn enough to expose the filling, recycle or discard it and make a fresh one rather than trying to seal damp material inside.
Classroom setup tip
Put one small portion of tissue at each place and keep extra filling at a shared table. This makes overstuffing less likely. Pre-cut a few short tape strips for younger makers and show one finished sample that still bends under a gentle press.
Ready to make one?
Beginner-friendly shapes to try
Paper squishy without foam FAQ
Can you make a paper squishy without foam?
Yes. Loose tissue paper, pulled-apart cotton, facial tissue, and soft paper scraps all create a light, compressible center. The key is leaving air between the pieces instead of packing the filling tightly.
What is the best filling for a paper squishy without foam?
Tissue paper is the easiest beginner option because it is light, adjustable, and simple to spread into corners. Cotton can feel softer, while lightly crumpled printer-paper scraps are useful for boxier shapes.
Can I use toilet paper or paper towel as filling?
Clean, dry, unscented paper can work in a craft, but facial tissue or regular tissue paper is usually easier to separate and distribute evenly. Never use damp paper because moisture weakens the shell and can create mold.
How much filling should I put inside?
Add small pieces until the design looks softly rounded but still compresses under a gentle finger press. If the seam stretches, the craft is overfilled and some material should be removed before sealing.
Is a homemade paper squishy safe for children?
It can be a supervised craft for children who can safely use the materials. Adults should help with scissors and tape cutters, keep small scraps away from young children, and treat the finished squishy as a decoration rather than a chew toy.