Printable craft guide
How to Make a Paper Squishy: Step-by-Step Guide
A paper squishy starts as a printable PDF and becomes a soft-looking craft through careful cutting, light filling, and patient taping. This guide shows the full process for parents, teachers, and crafters who want cute results without guessing which paper, tape, or filling to use.
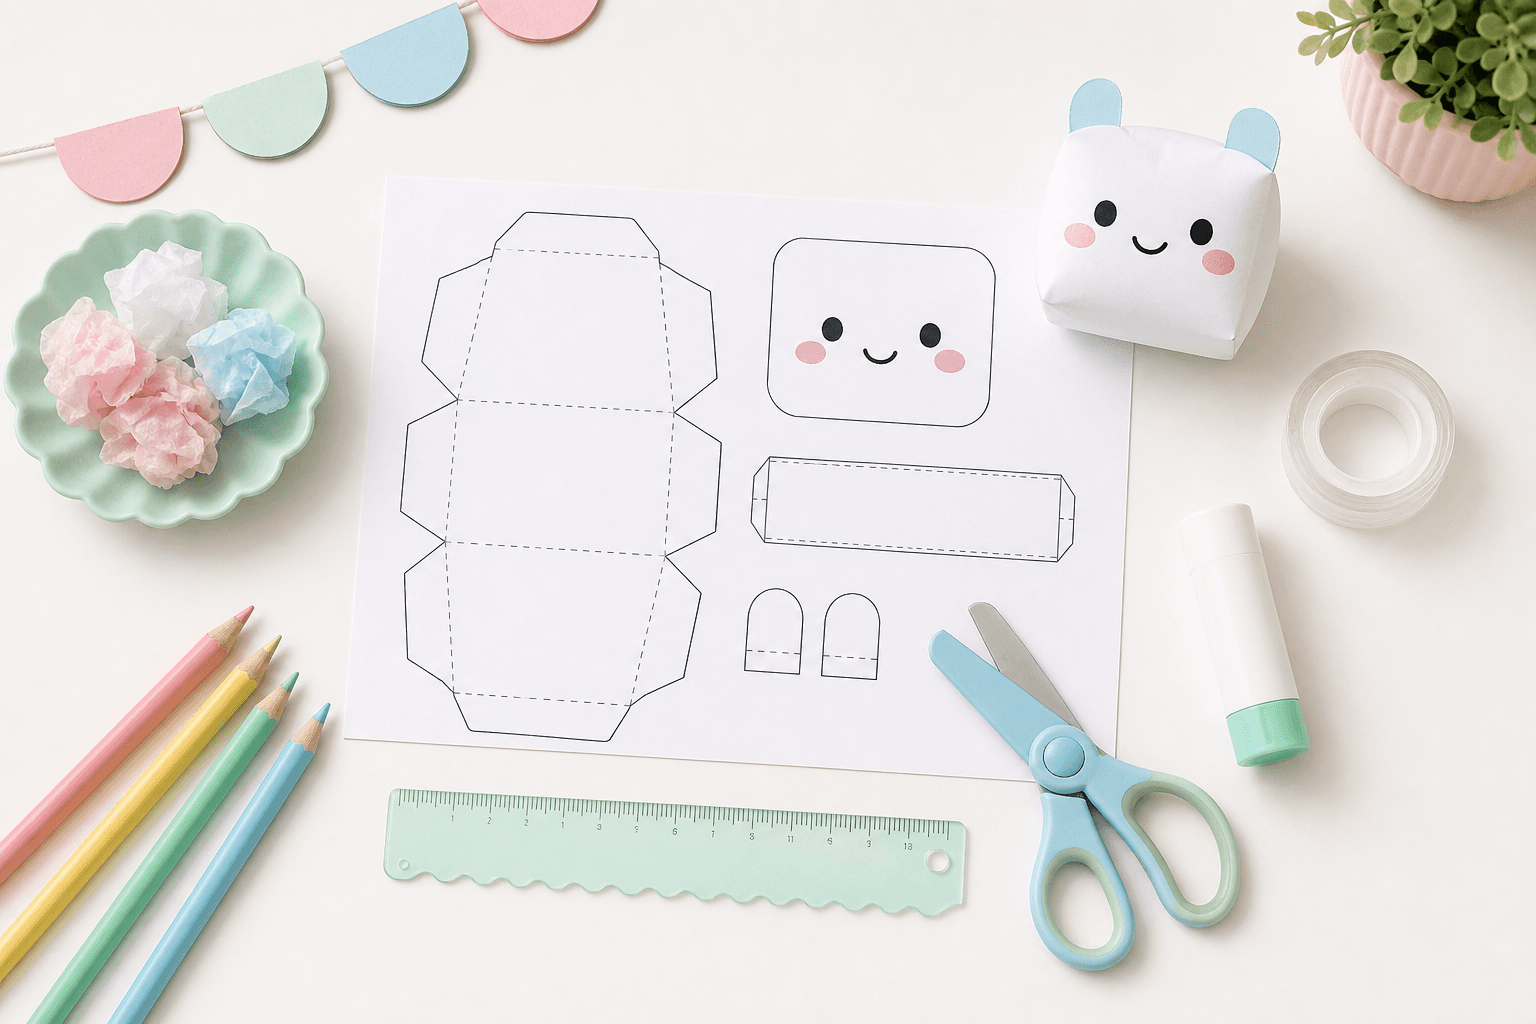
Materials you need
- Printable paper squishy template PDF
- Printer paper, light matte paper, or thin cardstock
- Scissors
- Clear tape or matte tape
- Tissue, cotton, or soft scrap paper for filling
- Ruler or craft stick for gentle fold scoring
- Colored pencils, markers, or stickers for optional details
Before you print
Print one test copy before preparing a party or classroom batch. Many paper squishy problems come from printer scaling, not from the template itself. Use actual size or 100% scale so tabs and matching pieces stay aligned.
If your printer clips the edge of a design, check whether the PDF has a margin-friendly version or choose a template with larger borders. For beta downloads, make one practice version with ordinary paper before using nicer paper.
Best paper for paper squishy crafts
Regular printer paper is the best starting point. It bends around dumpling, cookie, and watermelon shapes without creating stiff corners, and it is inexpensive enough for practice copies. For a cleaner display piece, try light matte paper after the template has been tested.
Thin cardstock works best for boxier patterns such as butter squishies, milk cartons, and ice cubes, especially when you score the fold lines first. Very thick cardstock, glossy photo paper, or laminated sheets can make the craft look polished but harder to close and less squishy.
Step-by-step paper squishy instructions
1. Print the template at 100% scale
Open the PDF and print one test sheet at actual size. Avoid fit-to-page shrinking when the template has tabs, fold marks, or matching front and back pieces.
2. Cut around the outside lines
Cut slowly around the main shape first, then handle smaller tabs or face details. Keep the offcuts nearby if you want soft scrap paper filling.
3. Score fold lines gently
Use a ruler edge or craft stick to press fold lines before taping. This helps boxy butter, carton, and ice cube templates close more cleanly.
4. Tape most edges and leave one opening
Line up the largest edges first. Seal corners with short tape strips and leave a small opening so you can add filling without stretching the paper.
5. Add light filling
Use a small amount of tissue, cotton, or soft scrap paper. The craft should look puffy, not packed tight. Overstuffing is the fastest way to split a seam.
6. Seal, shape, and decorate
Close the final opening with tape, press the shape gently, and add optional cheeks, labels, stickers, or name tags after the structure feels stable.
Filling choices
Tissue is the easiest filling for most projects because it stays light and can be adjusted in small pieces. Cotton feels softer, but it can bunch up inside corners. Soft scrap paper is useful for box shapes when you want the sides to hold their form.
Add filling slowly and stop before the paper feels stretched. A paper squishy should have a little give. If it becomes tight, remove some filling before sealing the last opening.
Safety and classroom notes
Paper squishies are decorative crafts, not chew toys. Keep them away from water and mouths, and supervise children when scissors, tape dispensers, or small scraps are on the table.
For a group craft, pre-cut tape strips, prepare small filling portions, and show one finished sample. A visible sample helps everyone understand how light the filling should be.
Troubleshooting common paper squishy problems
The edges will not line up
Check printer scale first. Reprint at 100% size, then cut just outside the outer line so both sides have enough room for tape.
The shape looks too flat
Add filling in small pieces near the center, then gently push it toward the corners. Do not pack the whole shape tightly.
The craft splits open
Remove a little filling and reseal the edge with shorter overlapping tape strips. Curves are easier with several small strips.
The corners look sharp
Use lighter paper for rounded designs, score boxy folds before assembly, and press corners softly instead of creasing them hard.
Choose a beginner-friendly template
Paper squishy FAQ
What paper is best for a paper squishy template?
Regular printer paper is the easiest first choice because it folds and curves well. Light matte paper or thin cardstock can look nicer after you have tested the template.
What can I put inside a paper squishy?
Use tissue, cotton, or soft scrap paper. Add less filling than you expect at first, then adjust before sealing the last opening.
Can children make paper squishies?
Yes, with age-appropriate supervision. Adults should help with scissors, small pieces, and any sharp craft tools.
Why does my paper squishy pop open?
It is usually overfilled, printed at the wrong scale, or taped too quickly around a curve. Remove a little filling and seal the edge with shorter tape strips.