Print · color · make
Paper Squishy Coloring Pages
Start with a clean black-and-white outline, add your own color while the sheet is flat, then turn it into a puffy paper craft. This guide covers the full workflow, from choosing ink and paper to sealing the final edge without smudging your design.
This is a coloring workflow guide, not a black-and-white download library. Current SQUISHY IDEA template PDFs are full-color A4 files.
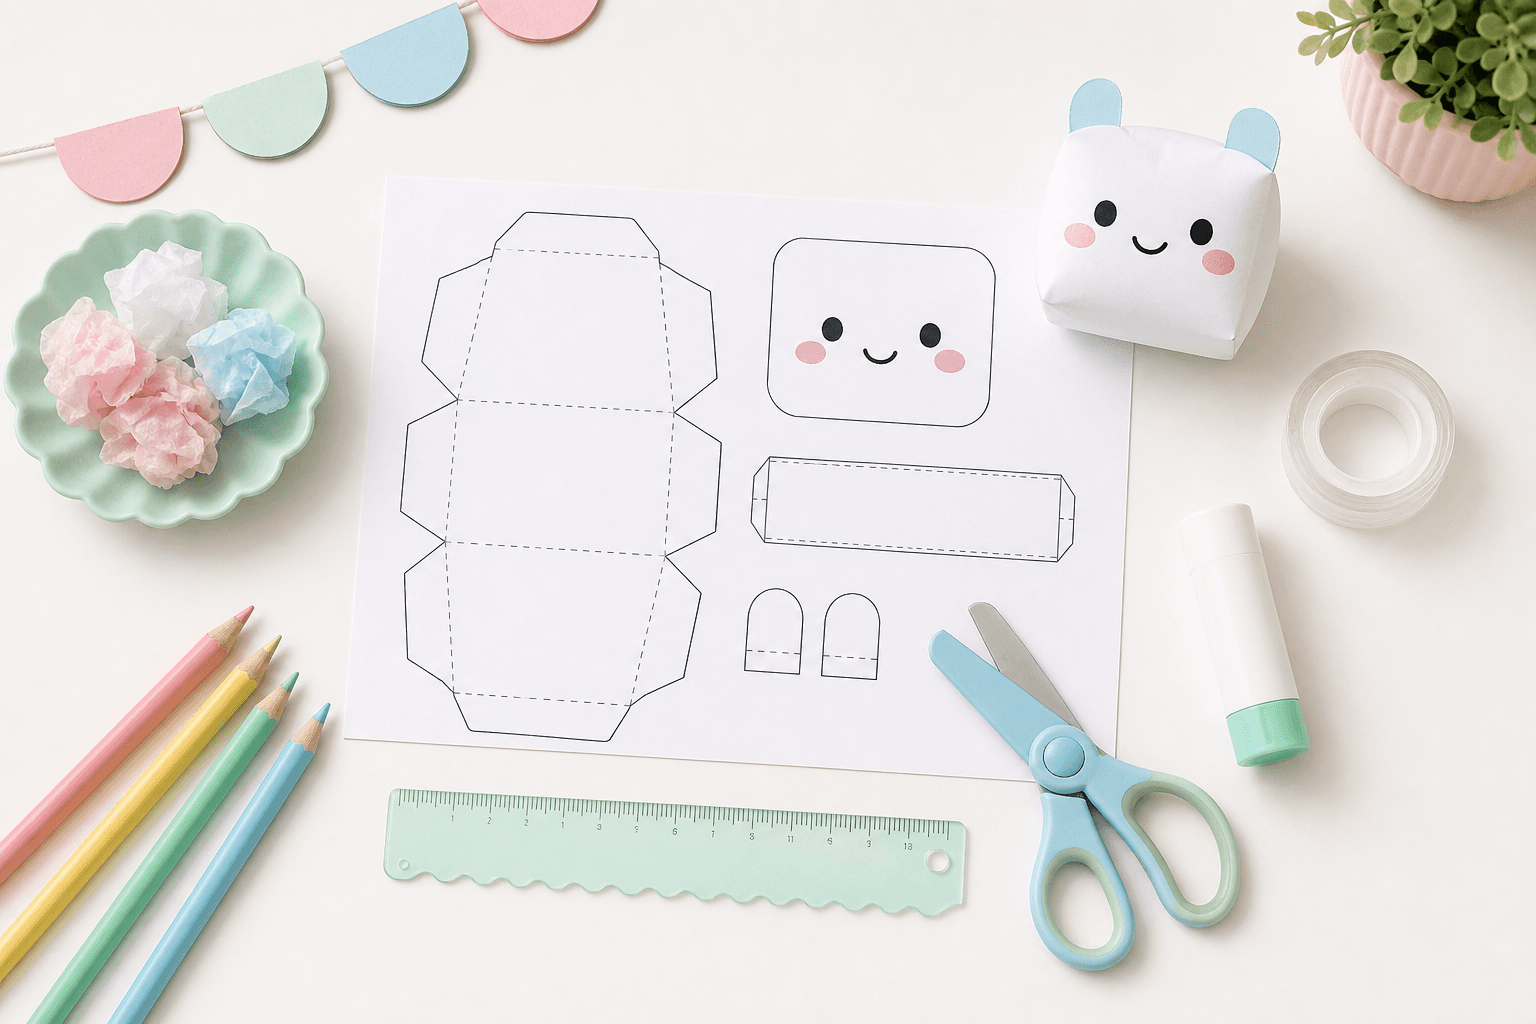
What you need
- A black-and-white original outline you create or have permission to use
- Regular printer paper or light matte paper
- Colored pencils, crayons, or washable markers
- Scissors
- Clear tape or matte tape
- Tissue, cotton, or soft paper scraps for light filling
Choose a coloring-ready outline
The easiest page has a bold outside edge, large open areas, and only a few construction marks. Tiny details can disappear under tape, while heavy black fills use more ink and leave less room for personal color choices.
Keep the artwork original and generic: food shapes, fruit, weather icons, school supplies, stars, and simple faces all work well. Avoid copying a character, logo, package, or branded toy. A plain outline gives every maker more room to invent a palette.
Best paper and coloring tools
Regular printer paper is a practical first choice because it moves around curves and accepts pencils, crayons, and most washable markers. Light matte paper can make colors look richer while staying flexible. Thin cardstock is better reserved for boxy forms, since it can feel stiff around rounded shapes.
Colored pencils
Best for shading, small details, and clean fold marks. Layer light colors instead of pressing hard enough to dent the page.
Crayons
Fast, dry, and forgiving for younger makers. Keep wax away from the narrow edge where tape needs to grip.
Washable markers
Bright and bold, but more likely to bleed through thin paper. Use a scrap sheet underneath and allow the ink to dry fully.
Color first, then seal: step by step
1. Print one black-and-white outline
Choose a simple, original shape with a clear outer edge and plenty of open coloring space. Print at actual size or 100% scale so the front, back, and any tabs still match.
2. Color before cutting
Keep the full sheet flat while you color. Start with larger areas, add small details next, and leave fold marks and cutting lines easy to see.
3. Let wet ink dry completely
Markers can transfer to tape or smear along fold lines. Give the page a few minutes to dry, then test one corner with a short strip of tape.
4. Cut and match the pieces
Cut around the outer line slowly. Before taping, place the front and back together and check that the edges, tabs, and orientation line up.
5. Seal most edges with short tape strips
Cover the colored surface only if you want extra protection, then tape around the shape in small sections. Leave one opening wide enough for the filling.
6. Fill lightly and close the final edge
Add a little tissue, cotton, or soft scrap paper at a time. Stop while the shape still has some give, seal the opening, and press gently to settle the filling.
Six original coloring-page ideas
These starting points use familiar shapes rather than protected characters or packaging. Change the expression, pattern, and colors to make each page your own.
Round cookie
Try dots, stripes, tiny hearts, or a two-color icing pattern inside a plain circle.
Fruit slice
Divide a circle or wedge into bold sections, then add seeds and a contrasting rind.
Ice cube
Use pale blue layers, white highlights, and simple diagonal lines to suggest clear edges.
Cupcake
Give the wrapper a repeating pattern and keep the frosting area open for blended colors.
Star or cloud
Add a simple face, name, or weather pattern without relying on a licensed character.
Pencil or notebook
Create stripes, initials, or a classroom theme using large spaces that are easy to color.
Classroom and party setup
- Print one finished sample and one flat sample so the sequence is visible.
- Set up separate coloring, cutting, taping, and filling stations.
- Pre-cut short tape strips and portion filling into small paper cups.
- Write each maker's name on the back before the sheets are mixed together.
- Offer a limited palette at each table to keep supplies easy to share.
Safety and cleanup
Supervise scissors, tape dispensers, and any sharp scoring tools. Paper squishies are decorative crafts, not chew toys, so keep filling and small scraps away from mouths, toddlers, and pets.
Use washable coloring tools on a protected table. Collect tiny tape liners and paper scraps as the activity goes, then let marker pages dry in a separate area before assembly begins.
Try a simple shape from the template library
Use these original printable designs as construction references, then bring your own color choices to the project.
Paper squishy coloring pages FAQ
What are paper squishy coloring pages?
They are black-and-white printable outlines that you color before cutting, taping, and lightly filling the shape. The coloring step happens while the paper is still flat, which makes the details easier to control. This page is a workflow guide; SQUISHY IDEA does not currently provide black-and-white template downloads.
Should I color a paper squishy before or after taping it?
Color it before cutting and taping. A flat sheet is easier to decorate, and you are less likely to dent the finished squishy or color across a taped seam.
Which coloring tools work best?
Colored pencils and crayons are the easiest options for beginners because they dry immediately. Washable markers give stronger color, but the ink should dry fully before tape touches the page.
Can I use cardstock for paper squishy coloring pages?
Thin cardstock can work for boxy shapes, but ordinary printer paper or light matte paper is easier to curve and squeeze. Test one copy before printing a classroom batch.
Are paper squishy coloring activities safe for children?
They can be a child-friendly craft with age-appropriate supervision. An adult should manage sharp scissors or craft tools, and small scraps and filling should be kept away from young children and pets.