Small printable hanging craft
Paper Squishy Keychain: Make a Lightweight Charm
Turn a compact printable design into a paper squishy keychain with a reinforced hanging loop. This guide covers size, assembly, attachment, and the limits of carrying a paper craft so your finished charm stays cute without being asked to hold real keys.
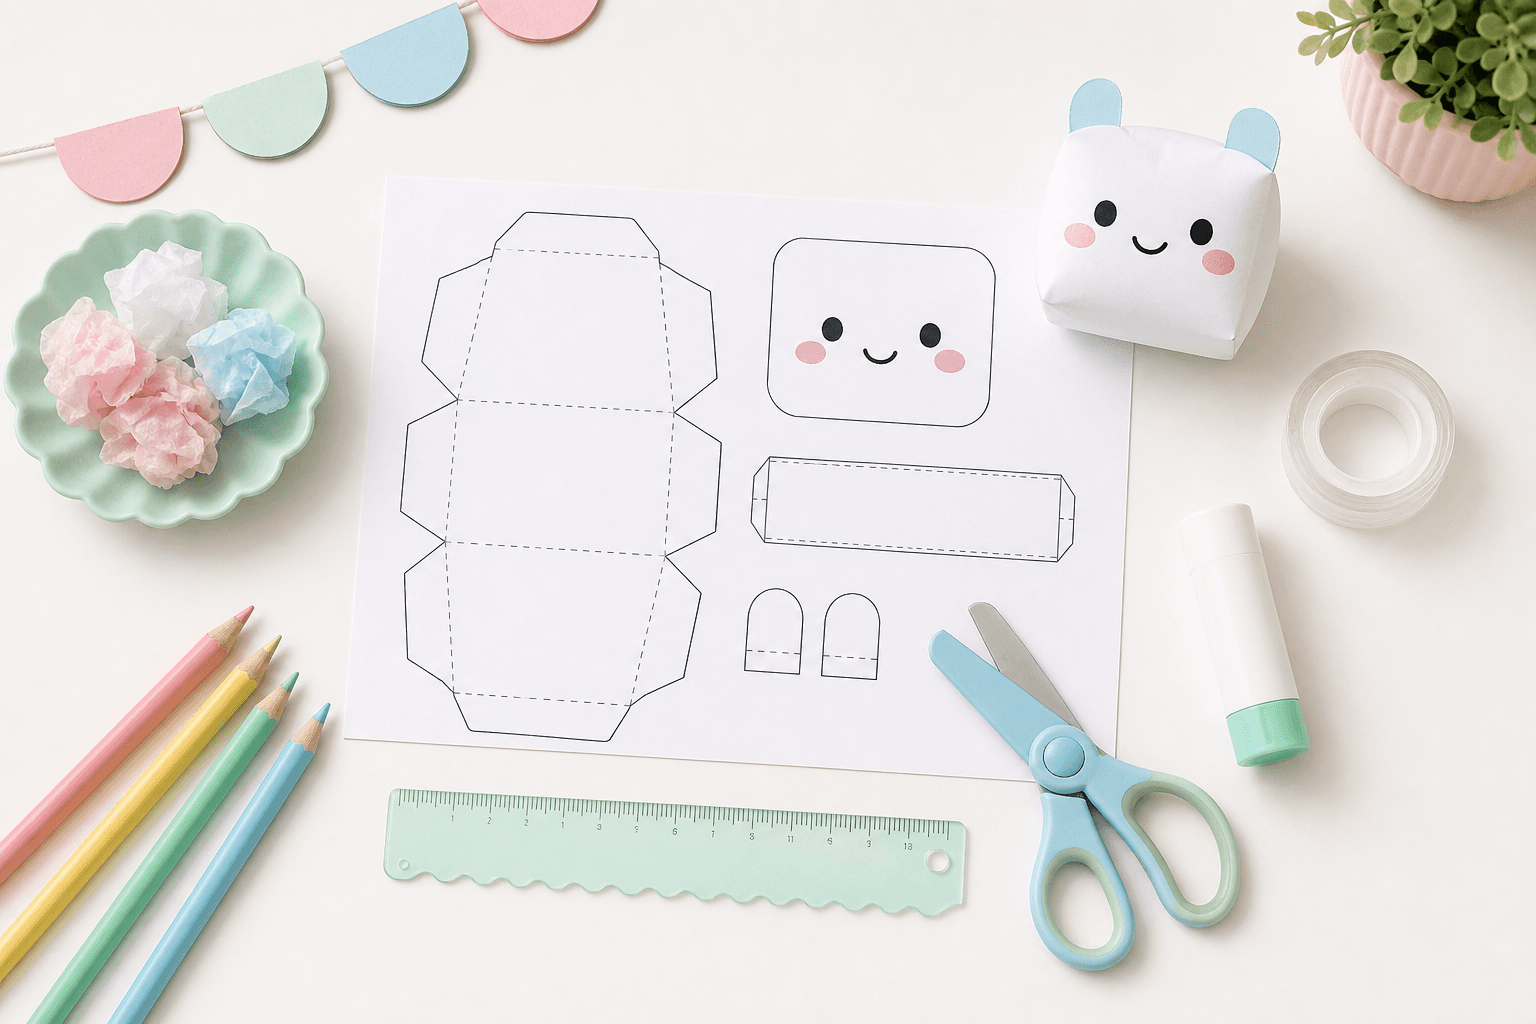
Materials
- A compact printable paper squishy template
- Regular printer paper or light matte paper
- Clear tape
- Tissue, cotton, or soft scrap paper for light filling
- A narrow paper strip for the hanging loop
- A small split ring, jump ring, ribbon loop, or lobster clasp
Tools
- Scissors
- Ruler
- Pencil
- Hole punch, optional and for the reinforced paper loop only
- Small pliers for an adult to open a jump ring, optional
Plan the size and hanging loop
Start with a finished body around 6 to 8 cm tall. A smaller shape is lighter, but very tiny tabs and curves become difficult to seal. Plan a taped paper loop about 1.5 to 2 cm above the finished top edge, with longer tails hidden inside. Make a plain-paper test first: hold it by the loop and adjust the position until the shape hangs upright.
Body
6–8 cm
Easy to cut, light enough to hang
Visible loop
1.5–2 cm
Enough room for a small ring or ribbon
Filling
Light only
Less pressure on the seam and anchor
How to make a paper squishy keychain
1. Choose a compact shape
Pick a simple template with a finished body around 6 to 8 cm tall. Cookies, candy, fruit slices, and other rounded designs are easier to carry than shapes with narrow corners.
2. Print and plan the top edge
Print at 100% scale and mark where the hanging loop will sit before cutting. Keep the loop away from a corner and leave enough clear space for tape on both sides.
3. Make a reinforced paper loop
Fold a paper strip lengthwise two or three times, cover it with clear tape, then fold it into a loop. Leave two flat tails at the bottom so the pull is spread across a wider area.
4. Anchor the loop inside
Tape the two tails to the inside of the back panel. Add a second tape patch across the tails. Only the rounded top of the loop should extend outside the squishy body.
5. Cut, fold, and seal most edges
Cut the template, pre-fold any tabs, and close the edges with short overlapping tape strips. Leave one opening on the side or bottom for filling.
6. Add a little filling and close
Add small pieces of filling until the shape looks softly rounded. Keep the area around the loop lightly filled, then seal the final opening without stretching the paper.
7. Add the ring and perform a gentle test
Slide a split ring, ribbon, or clasp through the reinforced loop. An adult should handle pliers or small metal findings. Hold the craft over a table and tug very lightly; if the loop shifts, reinforce it before use.
Attach the key ring safely
The safest paper attachment is a separate taped loop with two wide tails anchored inside. Do not punch through the stuffed body or tape a metal ring directly to the outside surface; both methods concentrate force in one weak spot.
Ribbon and plastic clasps are lighter than large metal rings. If you use a split ring or jump ring, ask an adult to fit it and handle any pliers. Small findings can be a choking hazard, so keep them away from young children and pets.
Durability limits
- Keep the craft dry; clear tape does not make exposed edges waterproof.
- Avoid pockets and full bags where the paper will be crushed or rubbed.
- Do not pull the charm by its body or swing it from the ring.
- Inspect the loop and top seam before each use, then repair or retire torn pieces.
- Treat the finished piece as a craft decoration, not a toy for chewing or rough play.
Troubleshooting
The loop pulls out
Open the nearest seam, lengthen the two loop tails, and tape them flat inside with a wide crosswise patch. Reduce filling around the anchor point.
The charm hangs sideways
Move the loop closer to the shape's visual center. Test the balance with an unfilled paper mock-up before making the final version.
The top seam keeps opening
Use two short tape strips around the loop instead of one long strip. Press tape to paper, not to loose filling, and leave a little empty space near the top.
The small template is hard to tape
Scale it up for the first build or choose a rounder design. Pre-cut narrow tape strips and place them on a table edge before you begin assembly.
Pick a compact template to adapt
Rounded designs are easiest for a first hanging charm. Print a test at reduced size only after you have built the template once at 100%, because smaller tabs and seams need more careful cutting.
Paper squishy keychain FAQ
Can a paper squishy keychain hold real keys?
No. Treat it as a lightweight decorative charm. Paper and tape are not strong enough for the weight, twisting, and daily wear of a set of metal keys.
How big should a paper squishy keychain be?
A finished body around 6 to 8 cm tall is a practical starting point. It is large enough to cut and tape, but small enough to hang from a pencil case or an indoor display hook.
Should I punch a hole through the squishy itself?
No. A hole through the stuffed body can tear quickly. Make a separate reinforced paper loop, tape its tails inside the craft, and attach the ring to that loop.
What filling works best for a small paper squishy charm?
Use tiny pieces of tissue or a small amount of cotton. The body should stay light and flexible; too much filling places extra pressure on the seams and hanging loop.
How long will a paper squishy keychain last?
It depends on handling, but it is best viewed as a temporary craft. Keep it dry, avoid crushing it in a bag, and replace it if the loop, tape, or paper begins to split.
Ready to make the base squishy?
Follow the complete paper squishy template guide for printing, cutting, filling, and sealing advice, then return here to add the reinforced hanging loop.