How-to answer
How to make a Taba squishy: read this before you mix
If you are looking for how to make a Taba squishy, the shortest honest answer is: use a proper kit, follow its own directions, and treat the uncured material as a real materials project. If you mainly want a cute squishy-shaped craft today, use the printable paper route below.
- Real kit
- Mold, mix, pour, cure, finish
- Paper route
- Print, cut, fill, tape
- Safety rule
- Follow the exact kit instructions
What making a real Taba squishy involves
A real Taba-style DIY squishy is made from a soft material that is prepared, colored, poured into a mold, and left to cure before it is finished. A formal kit may provide two components, a flexible mold, pigments, mixing tools, and a set of instructions. The details vary, so the package you own—not a random video—is the source of truth.
The most important part is not the cute face; it is the material handling. Set up a wipeable surface, read the age and protection guidance, measure exactly as directed, keep uncured material away from skin and food, and allow the full cure time. Do not improvise a recipe with hair gel, glue, powders, or unknown fillers and then call the result a safe toy.
A safety-first high-level sequence
First, check the kit contents and prepare the workspace. Next, prepare the mold only as directed, measure the components with the supplied tools, and mix them according to the stated ratio and time. Add color in the way the instructions allow, pour carefully, and leave the piece undisturbed for the required cure period. Only after it is fully cured should you demold, add approved finishes, or attach accessories.
Wear the protection the manufacturer calls for and keep children supervised according to the label. Never use craft molds for food afterward. When the piece is complete, inspect it for tackiness, tears, leaks, loose decorations, or a strong smell. If anything seems wrong, do not give it to a child or keep squeezing it to see whether it improves.
- Use a formal kit with clear instructions and a traceable seller.
- Follow the kit’s ratio, cure time, ventilation, and protection directions.
- Keep uncured material, pigments, tools, and small accessories supervised.
- Do not heat, eat, or repurpose a mold or finished squishy as a food item.
The no-mix paper alternative from SQUISHY IDEA
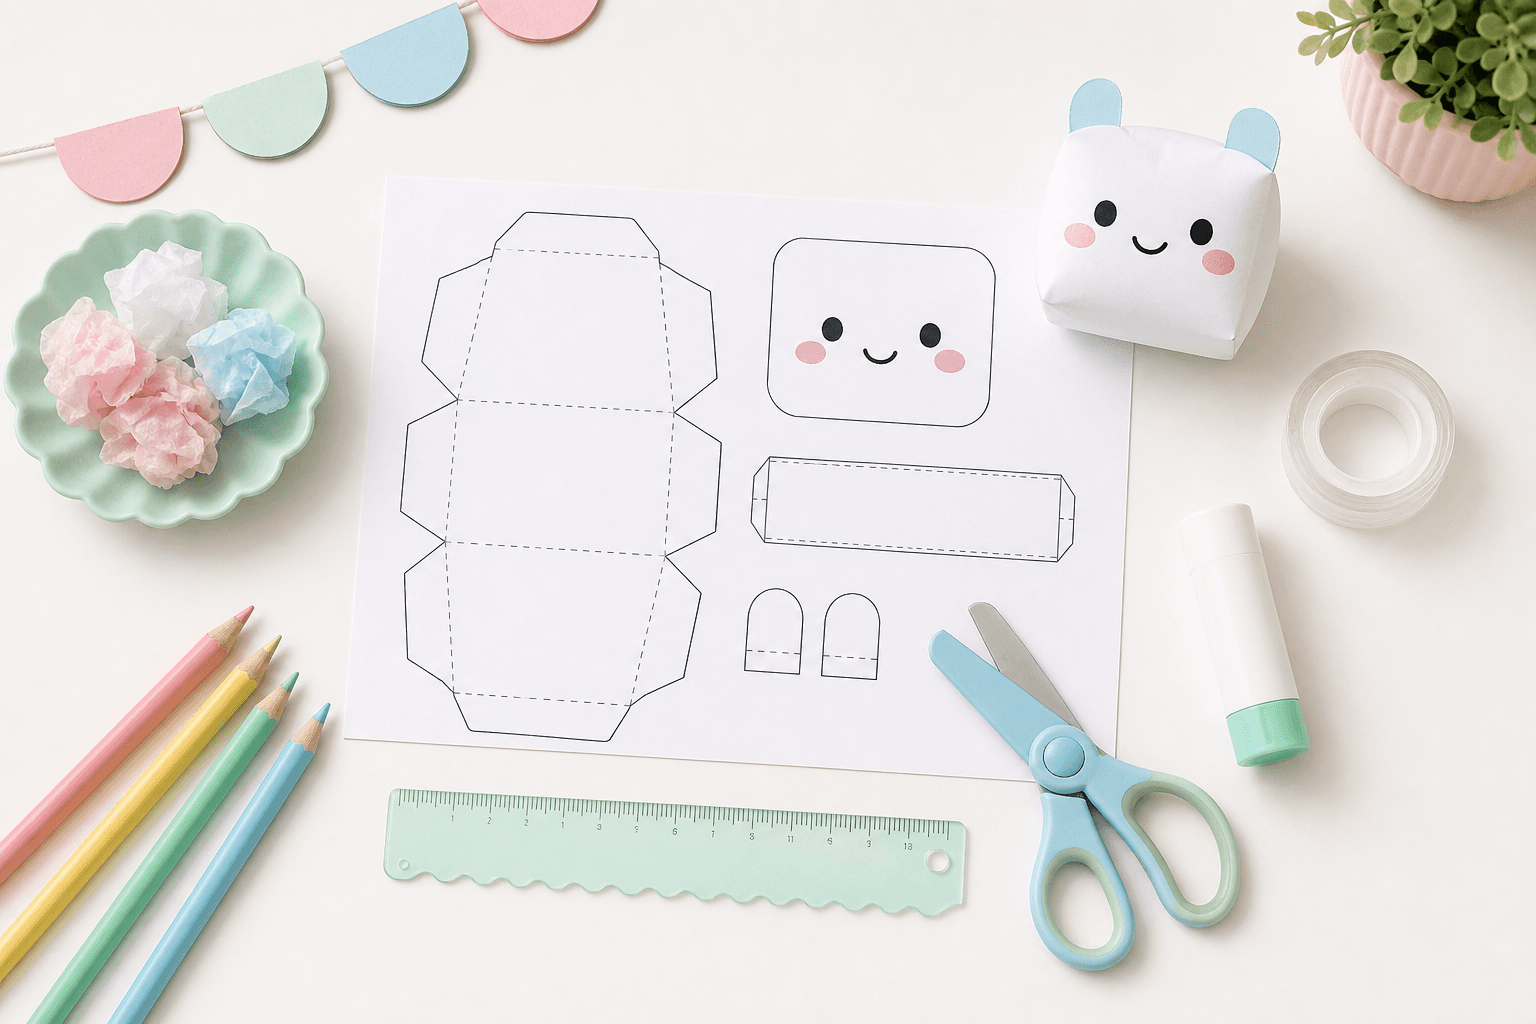
A paper squishy cannot copy the slow, rubbery Taba feel. It can answer a different need: you want to design a cute object, make it today, and know what every step means. The free starter pattern uses paper, scissors, tape, and a small amount of tissue or soft scrap paper. There is no uncured liquid and no waiting for a chemical cure.
Print at 100%, decorate the flat pieces, cut the outline, tape most of the edge, add filling slowly, and close the last opening. If the first attempt is not perfect, print another copy and change the face, colors, or amount of filling. That repeatability is the main value of the paper route.
A practical way to start
- 1
Choose a real kit or paper
Use a formal kit for a mold-and-cure project, or choose paper when you want a no-mix craft.
- 2
Prepare safely
Read the instructions, protect the surface, and use the age-appropriate adult supervision and protection listed.
- 3
Follow the source
Use the kit’s stated ratio and cure time; never substitute an online recipe for the manufacturer’s directions.
- 4
Try paper
Print, decorate, cut, fill lightly, and tape an original paper squishy when you want a same-day project.
Useful source notes
These links support the product-safety or brand-specific details above. Product availability and rules can change, so use the source’s current instructions when making a purchase or using a kit.
- TABASQUISHY official site
Use official product instructions for branded kits and finished toys.
- CPSC squishy-toy safety alert
Inspect physical squishy toys and never intentionally heat them.
Common questions
What do you need to make a Taba squishy?
A formal kit usually supplies a mold, two-part soft material, pigments, mixing tools, and instructions. The exact contents and required protection vary, so check the specific kit rather than copying a generic recipe.
How long does a Taba squishy take to cure?
Cure time depends on the material, mold, temperature, and manufacturer. Follow the exact time on the kit instructions and do not handle or give the piece to a child before it is fully cured.
Can I make a Taba squishy with household ingredients?
Avoid improvised recipes with unknown compatibility or safety. Use a formal kit with clear instructions, or choose a paper squishy if you want a no-mix craft.