Printable craft guide
Make an avocado cube paper squishy
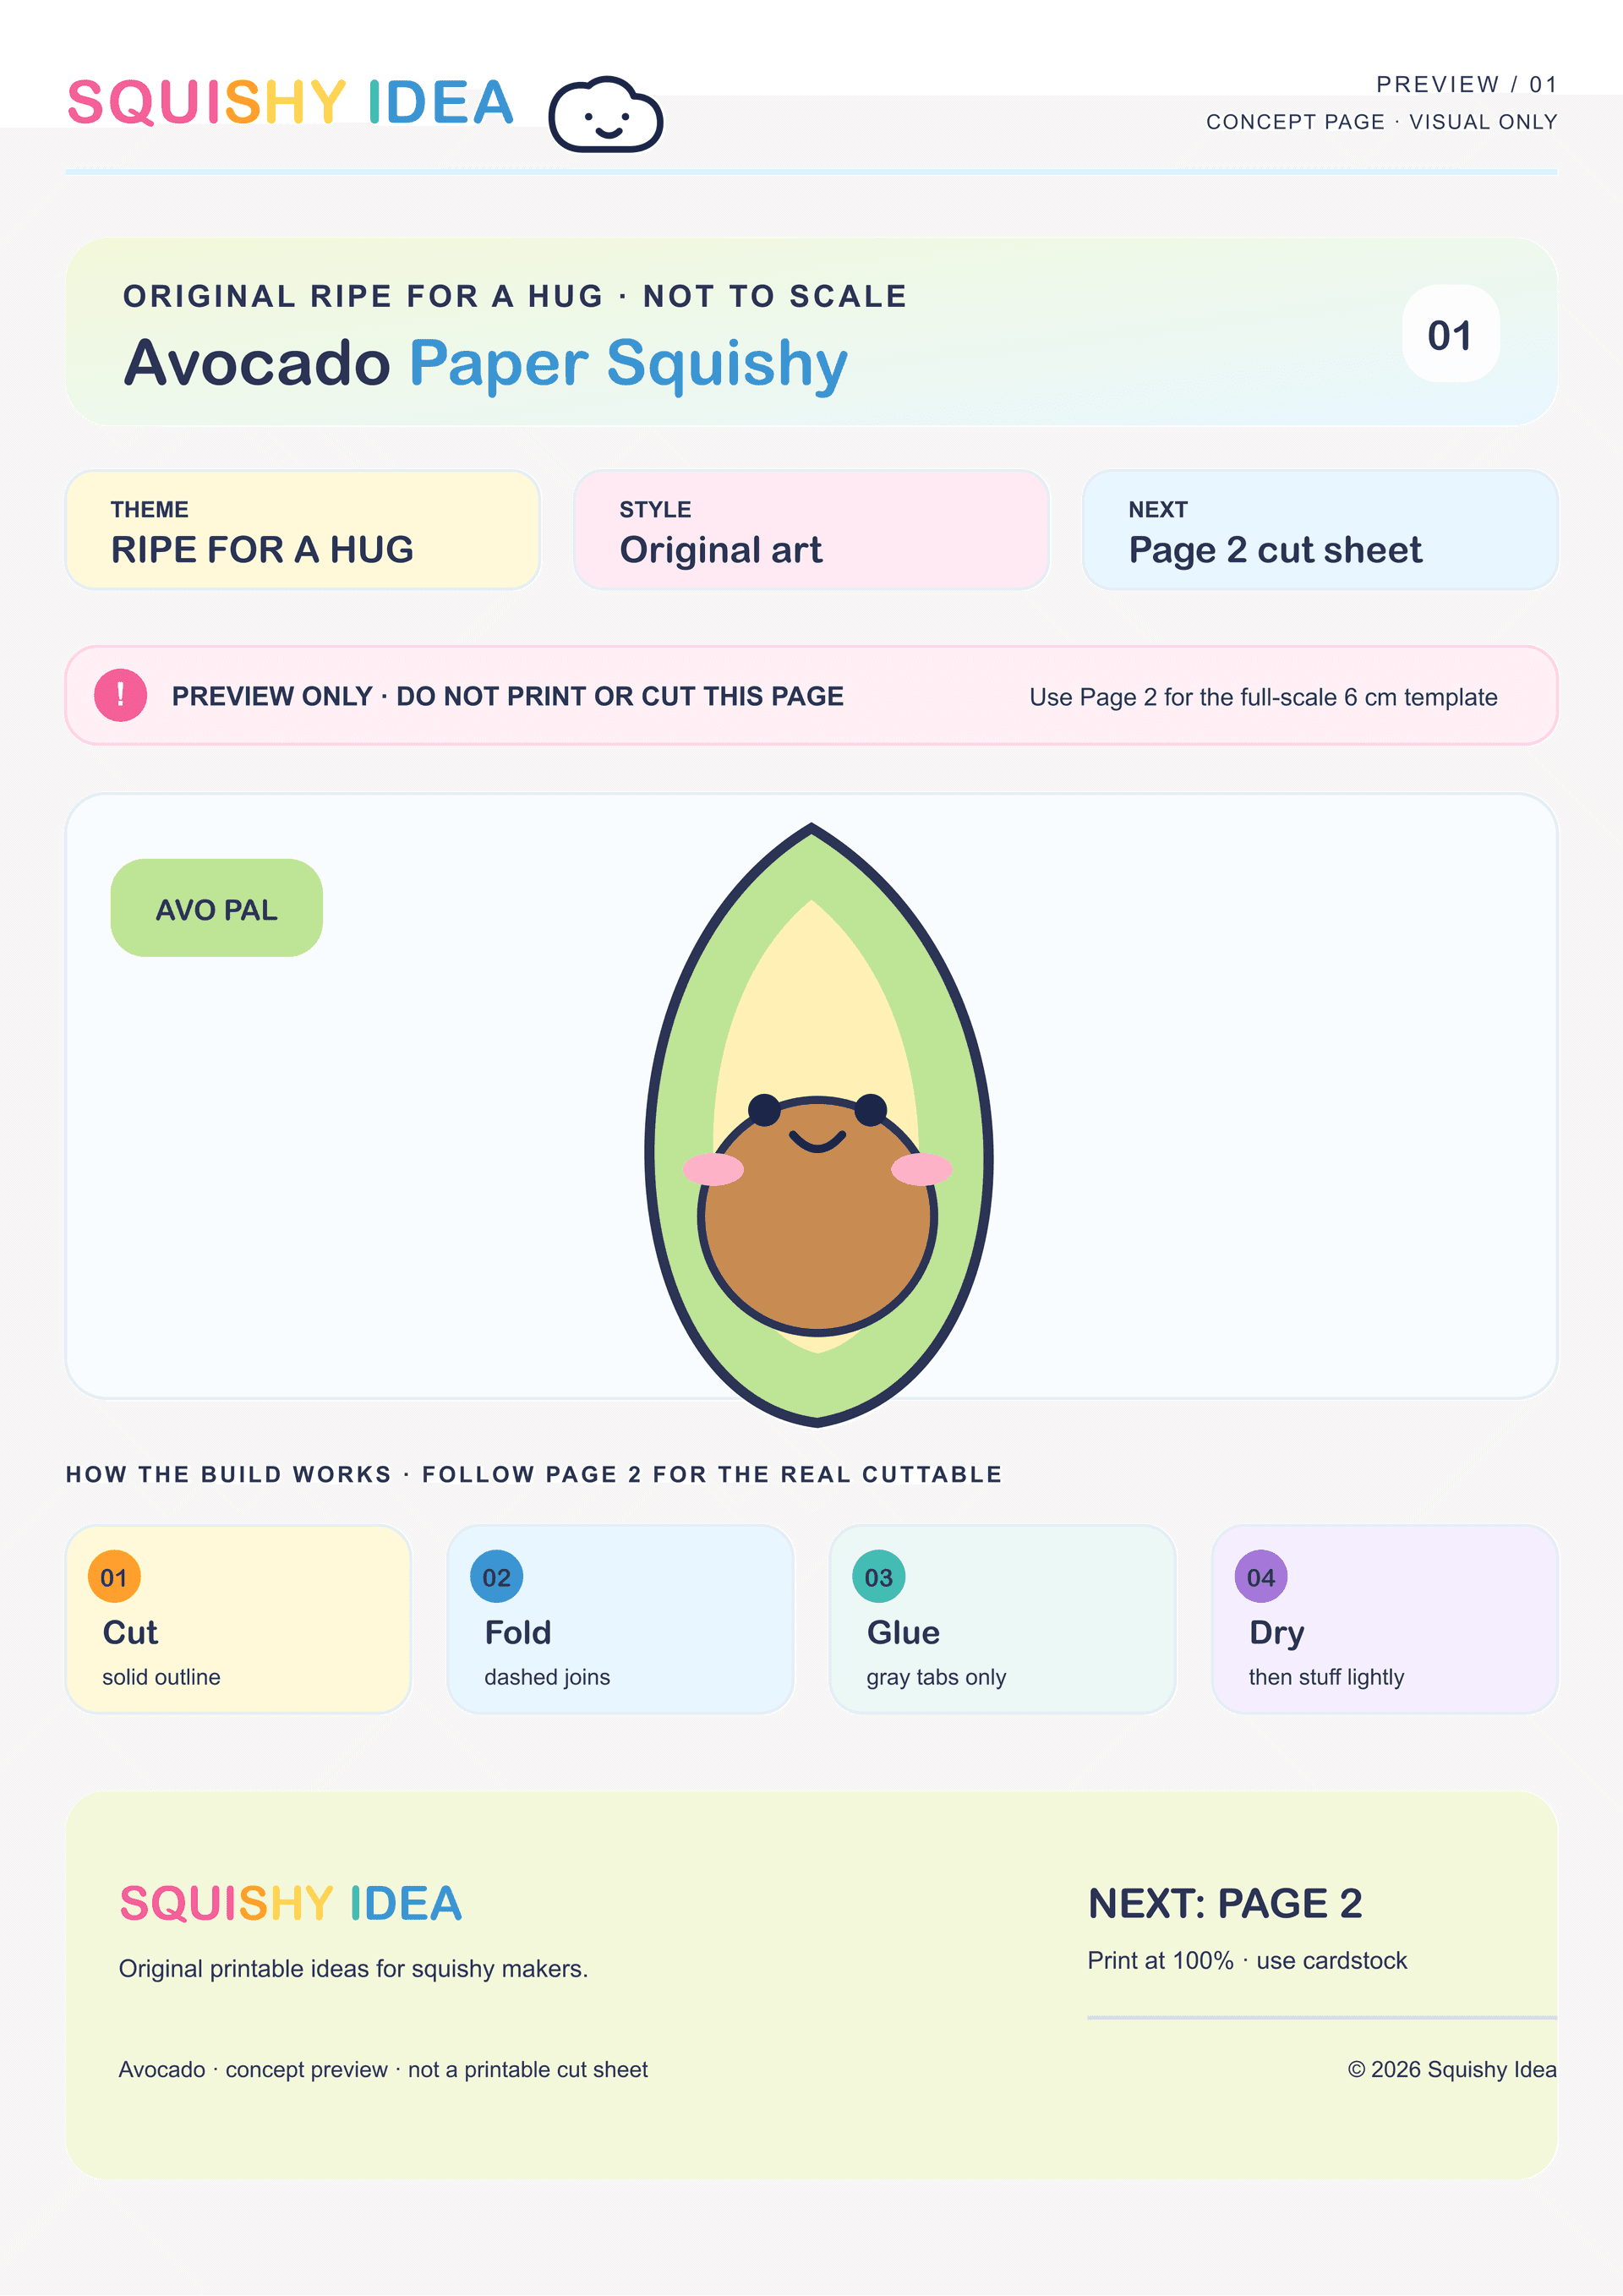
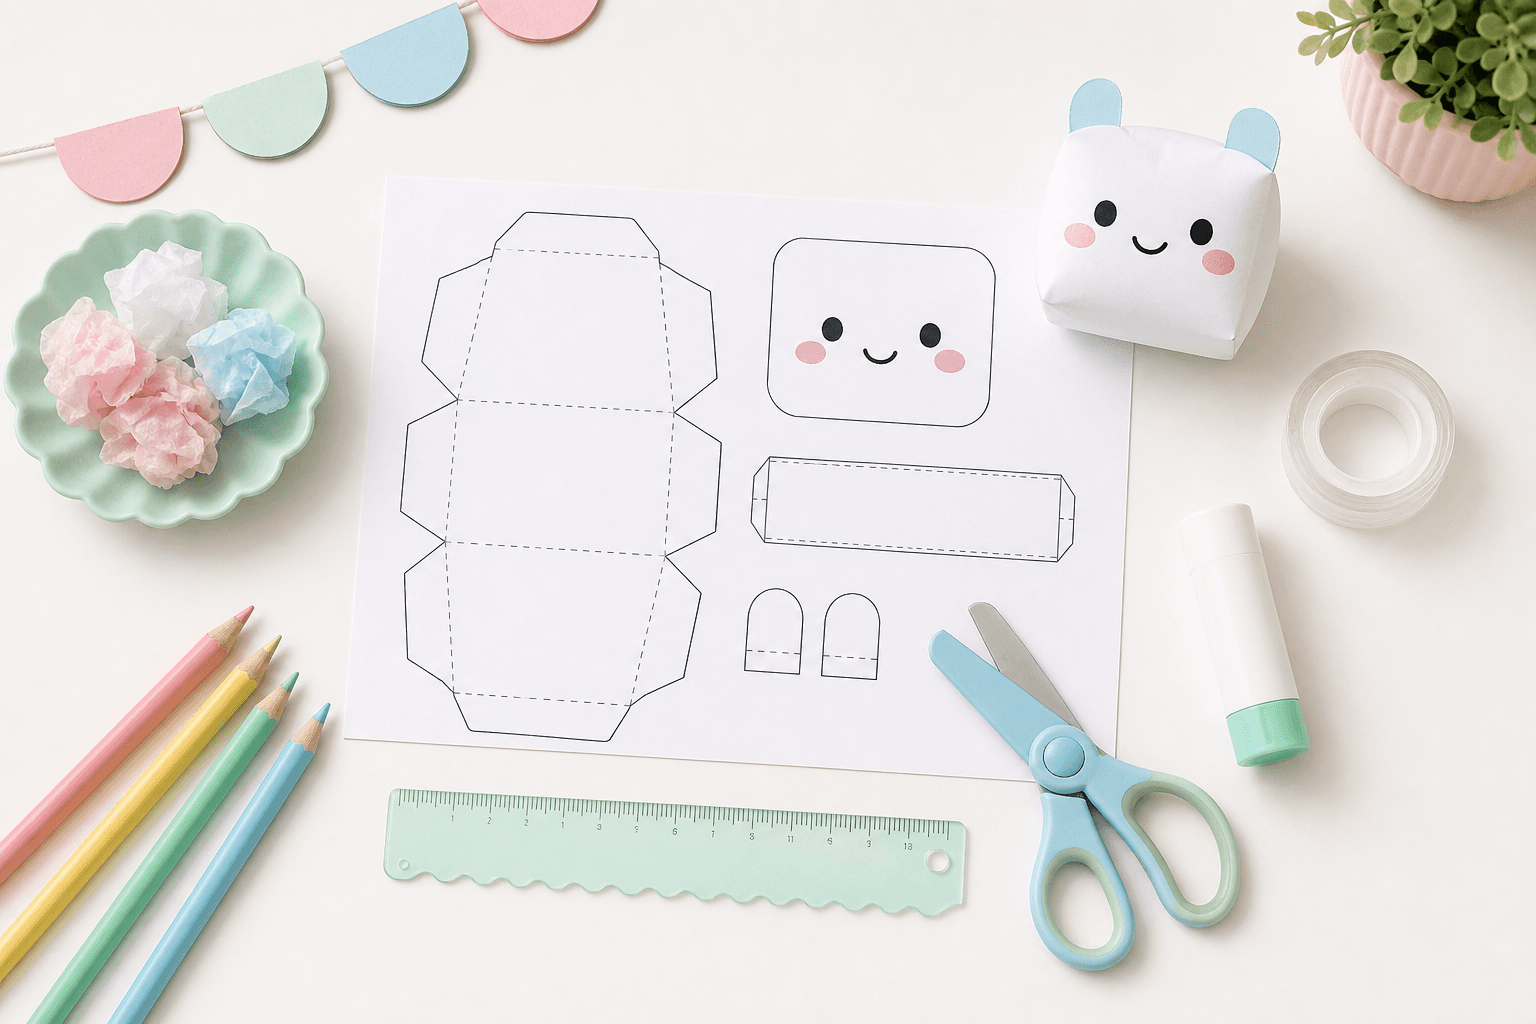
This avocado design uses a six-panel 3D cube net with original fruit and pit artwork. Decorate the flat panels first, then score and close the gray glue tabs for a compact fruit cube.
Avocado cube squishy guide
How to make your avocado template
This avocado design uses a six-panel 3D cube net with original fruit and pit artwork. Decorate the flat panels first, then score and close the gray glue tabs for a compact fruit cube.
Get these ready
- *A4 printer paper or light card stock (90-120 gsm)
- *Child-safe scissors
- *A ruler and a blunt scoring tool, such as an empty pen cap
- *Clear tape or double-sided tape
- *A small amount of tissue paper or soft scrap paper for filling
What to put inside
Use two or three loose tissue pieces before the final face is closed. Keep the fill light so the cube edges remain square.
What to stick with
Apply glue or short clear-tape pieces to the gray hatched tabs and fold the green fruit panels into place.
- 1
Print at 100%
Print the avocado cut sheet on A4 without scaling and check all six square panels.
- 2
Cut the silhouette
Cut along the solid outer outline and keep the gray glue tabs attached.
- 3
Add fruit details
Draw extra green shading, faces, or pit details on the six flat panels before folding.
- 4
Score and pre-fold
Score every dashed line with a ruler and blunt tool, then pre-fold the panels and tabs.
- 5
Close the fruit cube
Apply adhesive to the gray hatched tabs and fold the avocado artwork into a compact cube.
- 6
Fill and finish
Add light tissue through the final opening, secure the remaining tabs, and press the edges flat while they set.
Print note: Print the A4 cut sheet at 100% scale so the six square faces remain 6 cm finished faces.
Finish it: Use the pit face as the front display panel and keep the greener side panels turned slightly toward the light.
Use scissors with adult help when needed. Keep filling light and dry: do not use food, liquid, rice, beads, or anything heavy inside a paper squishy.
Print and make
Get both printable PDFs for this project
Download the original A4 template from the pattern page, or request this printable making guide below. Both files use the same email-gated beta download flow.